Getting Started - App (iOS/Android)
It's time to create your first budget! Nula is based on the zero-based budgeting method, meaning that your total income minus your expenses should equal zero. In fact, that's where our name comes from… Many languages use the word 'nula' or similar to mean 'zero'.
Don't worry if you're not familiar with zero-based budgeting; it's simple, and this guide will guide you through it.
Step 1. Start a new budget
Introduction
With Nula, you create a budget for each month. Don't worry if your payday, or budget cycle doesn't exactly fit into a calendar month, as you're free to create transactions on any date either before, within, or after the month has started.
Switch between and select a month
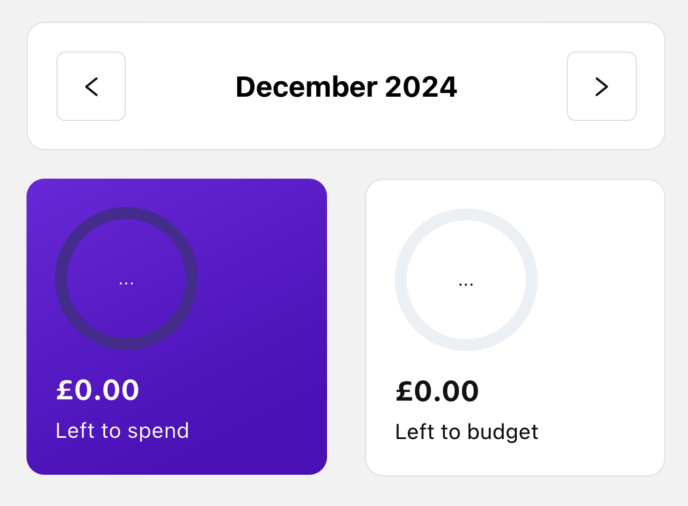
For now, just check that the month shown is for the budget you would like to create.
If it's not, you can use the forward and back buttons next to the month to navigate to the month for which you would like to create your first budget.
Step 2. Create groups and items
Introduction
Your budget is split into budget 'groups' and 'items'. Each group has a type, which is either 'income' or 'outgoing'. This type is important, as it decides whether the amount and transactions added to an item are added to or subtracted from your 'left to budget' and 'left to spend' balances.
If that sounds confusing, don't worry! You'll be guided through both of these group types and how they affect your budget balances in the steps below.
Groups represent general 'groupings' of budget items. Some examples might be 'General Expenses', 'Household Bills', or 'Subscriptions'. It's up to you to decide how to group your budget items.
If you're struggling to group your budget items, here are some suggestions...
- Start by creating one group for all of your income, and another for all of your outgoings. Over time, create more specific groups where you think it would be useful.
- List all transactions you made last month and see if you can organise them into general groups.
Budget items are added to groups, and can be created for specific expenses, like a 'phone bill' or 'rent' payment, or for 'sub-groups' of related expenses, for example, 'entertainment' or 'groceries'.
Again, it's up to you to decide what items to create. If you need further help or inspiration, it might be useful to search places like Google, YouTube, or Reddit for terms like 'budget report' or 'budget review' to see some real-life examples of other people's budgets.
The most important thing to remember is that items inherit the type from the type of group they're in, so remember to create income items in an income group, and outgoing items in an outgoing group.
Create an income group and item
Let's begin by creating a group and some items for our income.
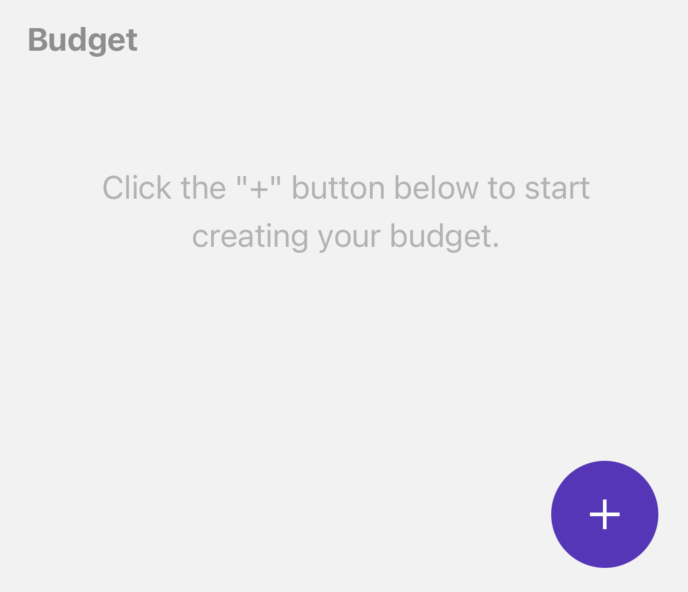
To create groups and items, tap the '+' button in the bottom right-hand corner, which will make the 'Add budget item' modal appear.
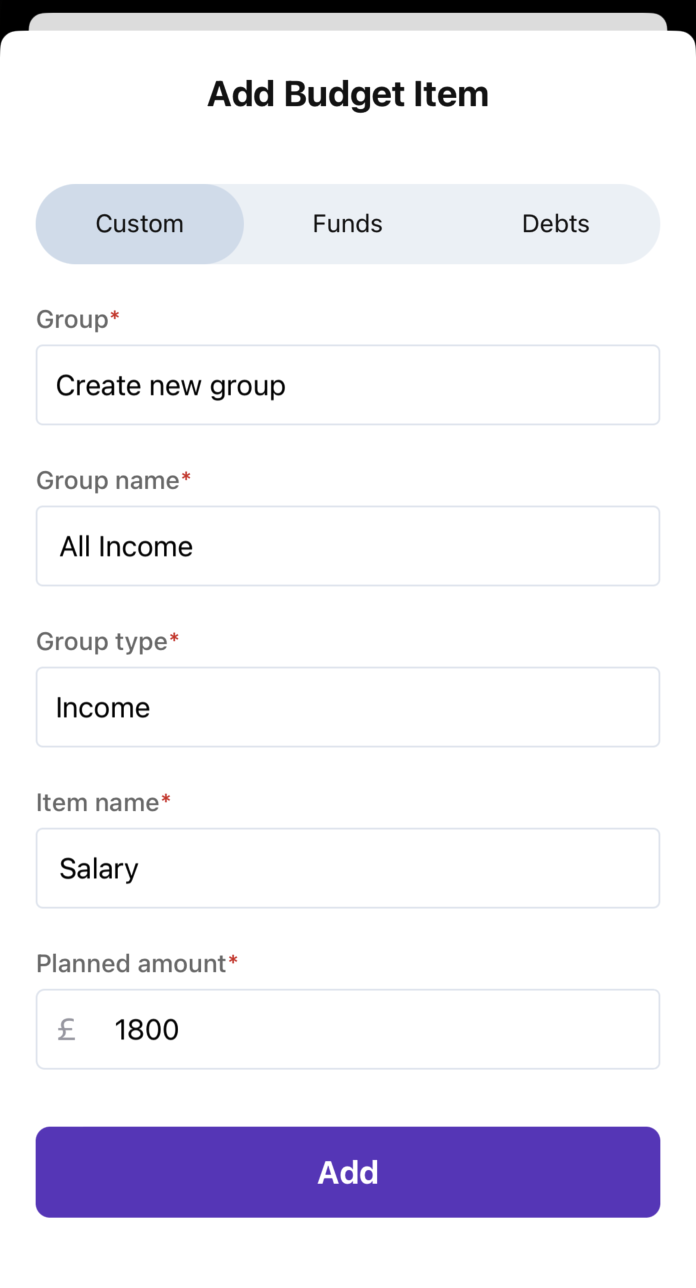
We must first create a new group for our item, so under the group field, select 'Create new group'. This will make some additional fields appear that are required for a new group, such as the group name and type.
Let's call our group 'All Income', and select 'Income' as the group type. Most people will only ever need a single 'Income' group, even if they have multiple sources of income, as they can all be added under the same group.
Next, give your first item in the group a name, let's call it 'Salary', and finally a planned amount we expect to receive. For now, set this to '1800', and tap the 'Add' button.
You will see a few things 'come alive' on your budget. First, you will see the group and its item on the budget.
You will also see that it says you have '1800' left to budget, and that you've budgeted '0%' of your income. Let's add another item to the 'All Income' group…
Add another item to an existing group
Click the '+' button again in the bottom right-hand corner and select the 'All income' group we just created.
Give the item the name 'Clothes sale' with an amount of '200', and tap the 'Add' button. This will now give us a total of '2000' left to budget, but still with '0%' budgeted.
Create outgoing groups and items
Now that we're done adding all of our income items, we're ready to add expenses.
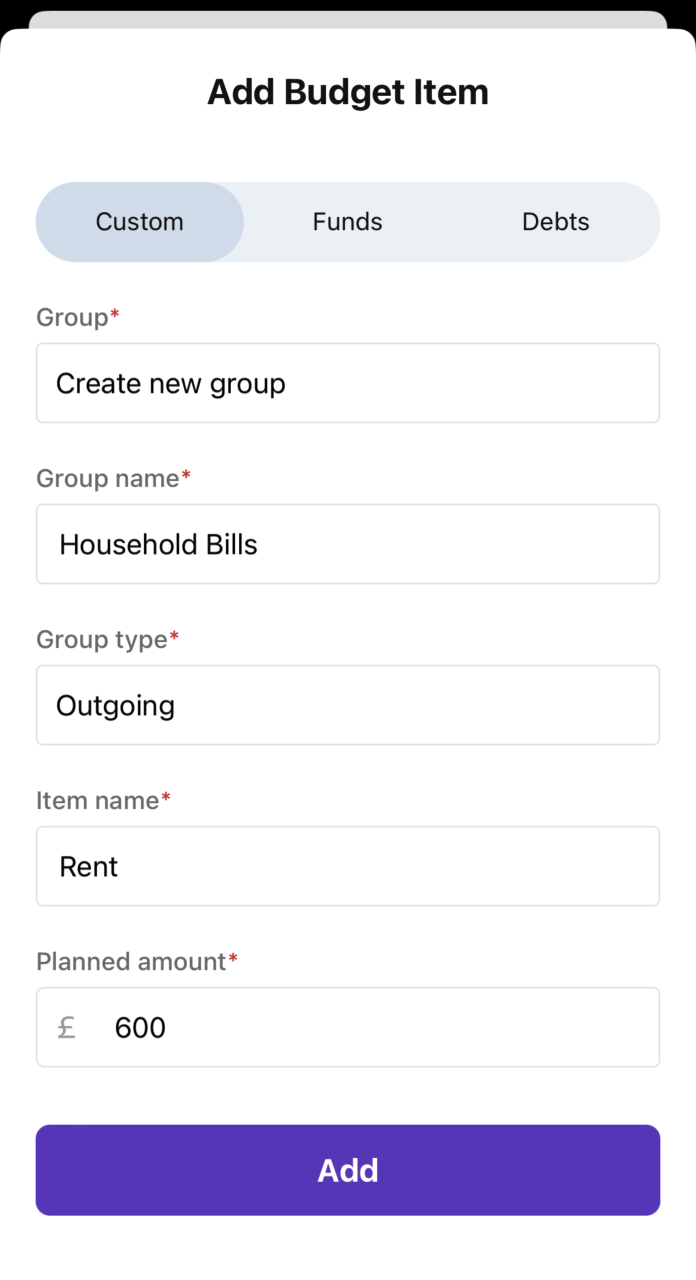
We add outgoing groups and items in the same way as income, but by selecting 'Outgoing' as the group type instead.
First, tap the '+' button in the bottom right-hand corner, and select 'Create new group' as the group.
Set the new group name as 'Household Bills' and group type as 'Outgoing'. Set the item name to 'Rent' with an amount of '600', and tap 'Add'.
You will see the new group and item in the budget, which now shows you have budgeted '30%' of your income, with '1400' left to budget.
Let's try adding a few more groups and items to our budget. Add all of the following…
Add another 3 items to Household Bills:
- Name: Water and Amount: 50
- Name: Electric and Amount: 150
- Name: Insurance and Amount: 60
Add a new 'Outgoing' group called Regular Bills, with the following 2 items:
- Name: Phone and Amount: 50
- Name: TV Subscription and Amount: 100
Add a final 'Outgoing' group called General Expenses, with the following 4 items:
- Name: Groceries and Amount: 400
- Name: Travel and Amount: 160
- Name: Eating Out and Amount: 50
- Name: Entertainment and Amount: 100
After adding these, you should see that you've now budgeted '86%' of your income, and have '280' left to budget.
Edit groups and items
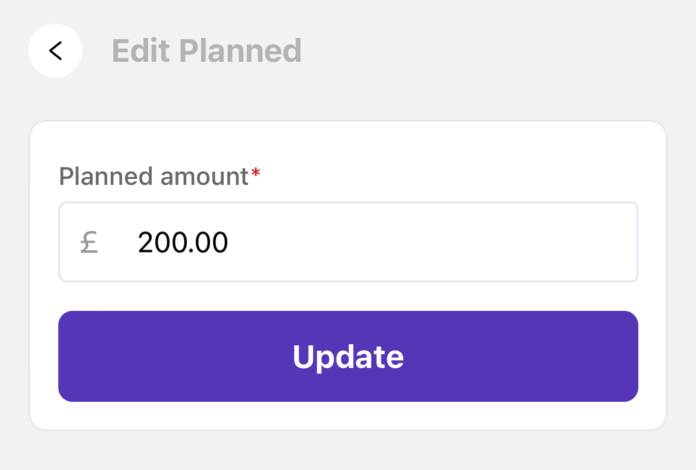
It's easy to edit existing group & item names, and item planned amounts after you've created them.
First, tap on the group heading or item you wish to edit. Then tap the field you wish to edit, make your changes, and tap 'Update'.
Delete groups and items
Similar to editing groups and items. First, tap the group or item you wish to delete, and then tap the 'trash' icon.
You can't delete groups or items that already have transactions made against them. This is to prevent you from changing your budget midway through a budget cycle and accidentally creating 'orphan' transactions. You must first reassign any transactions made in the group or item, and when there are non left, you will be able to delete the group or item.
Step 3. Create and manage funds
Introduction
The term 'funds' is short for 'sinking funds', which are a type of goal-based savings. You may have heard similar terms such as 'pots', 'buckets' or just 'savings'.
They're a way of setting aside an amount of money each month to either save for a bigger purchase, like a car or holiday, or to save for infrequent expenses like birthdays, bi-yearly subscriptions, or a yearly tax bill. Funds are also a great way to keep track of an emergency fund.
Funds are different to other long-term savings like pensions, savings schemes or investments. Nula can track these too, but they should be added as 'assets' under 'net worth', which we'll cover later.
Creating and then saving into funds each month is great, because it means that the cost can be spread across many months. So when the time comes to pay the expense, the money is already saved in full and doesn't need to be accounted for out of a single month's income.
Create a Fund

To create your first fund, tap the 'Funds' tab in the bottom menu.
Next, tap the '+' button in the bottom right-hand corner.
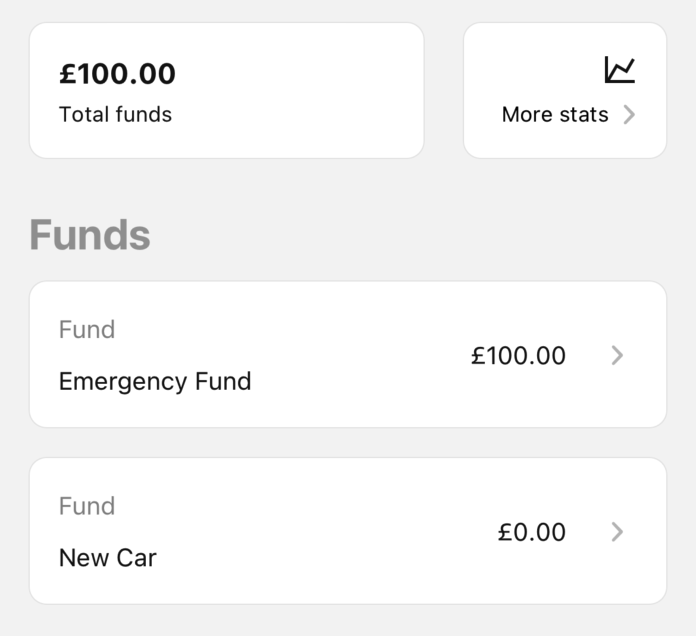
Give the fund the name 'Emergency Fund', set the current balance as '0' and set a goal of '3000', and tap 'Add'.
Add another fund with name 'New Car', current balance of '0', and goal of '6000'.
Above your list of funds, you'll see the total balance of all funds combined. If you tap 'More stats', a graph will show the balance of all funds over a period of time. You can change the time period using the small buttons under the graph.
Add funds to a budget
In order to add transactions to, and save money into your funds, you'll need to add them to your budget.
Go back to the 'Budget' screen, and make sure you're still on the same month as in previous steps.
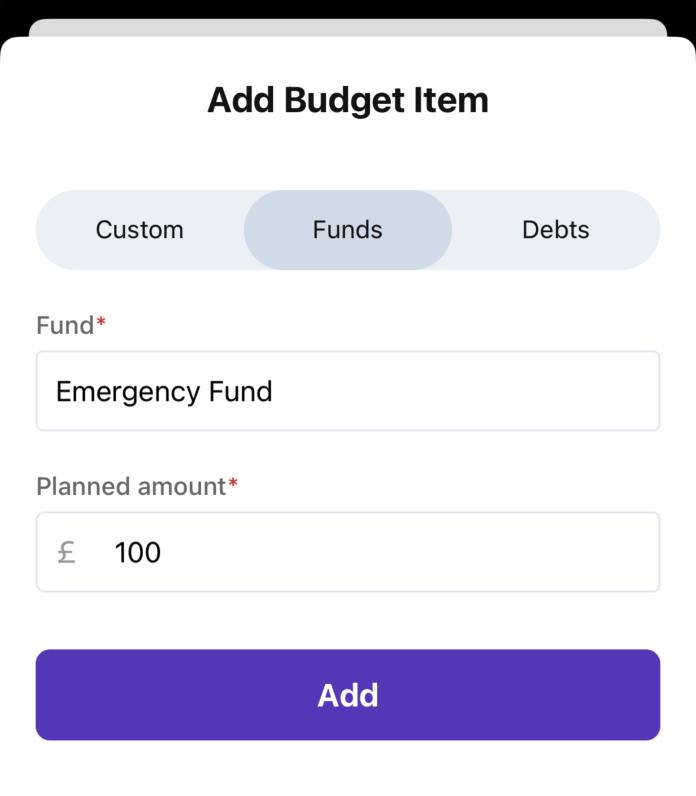
Click the '+' button in the bottom right-hand corner, as you would with adding regular items. Switch from 'Custom' to 'Funds' and select the fund. Enter the amount desired and tap 'Add'.
If this is the first fund to be added to the budget, a new special 'Funds' budget group will be created for you automatically, and the selected fund will be added to it. If the group already exists, the fund will be added to the existing group. Because this is a special group, it can't be renamed, and only funds can be added to it.
Add both funds to the budget, and allocate '100' to 'Emergency Fund', and '150' to 'New Car'. You should see you've now budgeted '98%' of your income and have '30' left to budget.
Remove funds from a budget
If you're following along and want to practice removing a fund, make sure to add the fund back after, with the same amount allocated as before.
You can remove a fund from the budget in the same way that you'd remove any other item. This will only remove the fund from the current budget, and will not delete the fund itself.
Delete funds
If you're following along, do not delete the funds we previously created. If you'd like to practice, create a new temporary fund and delete it.
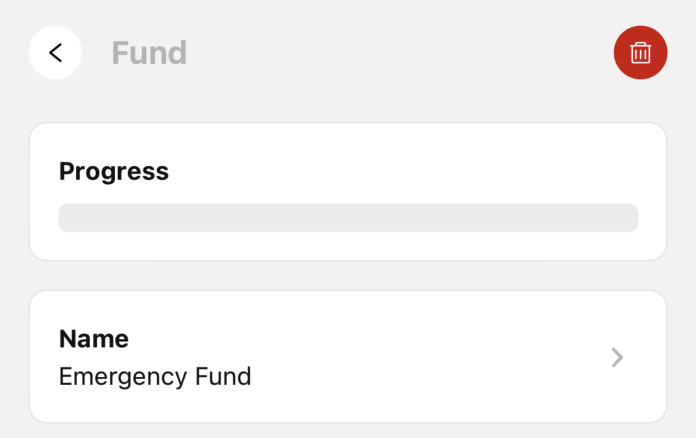
In order to delete funds, head back over to the 'Funds' screen, tap the fund you wish to delete, and tap the 'trash' icon.
Any current balance in the fund will be set to '0' just before deletion, and so will be subtracted from your total funds balance.
Extra Tip: Pay yourself first
Although we added funds to our budget after adding all expenses, in reality, it's recommended to add funds before any non-essential expenses. This is known as 'paying yourself first', and helps to ensure you stay on target.
Step 4. Create and manage debts
Introduction
'Debts' are used to help keep track of, and pay-off things like credit cards and loans.
It's not recommended to add long-term liabilities here, such as a mortgage or student loan. Nula can track these too, but they should be added as 'liabilities' under 'net worth', which we'll cover later.
Create a Debt
To create your first debt, tap the 'Debts' tab in the bottom menu.
Next, tap the '+' button in the bottom right-hand corner.
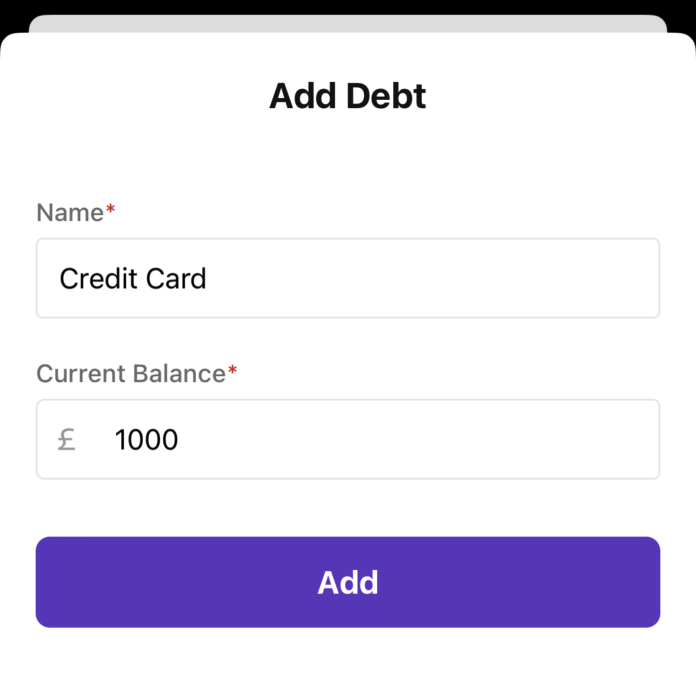
Give the debt the name 'Credit Card', set the current balance to '1000', and tap '+ Add'.
Did you notice that we didn't set the balance to '-1000'? Nula is aware this is a debt, so knows for example to subtract, not add it from your net worth. Therefore, debts should usually have a positive balance. An example of when to use a negative balance would be when you're 'in credit' on a Credit Card.
Above your list of debts, you'll see the total balance of all debts combined. If you tap 'More stats', a graph will show the balance of all debts over a period of time. You can change the time period using the small buttons under the graph.
Add debts to a budget
In order to add transactions to, and pay down your debts, you'll need to add them to your budget.
Go back to the 'Budget' screen and make sure you're still on the same month as in previous steps.
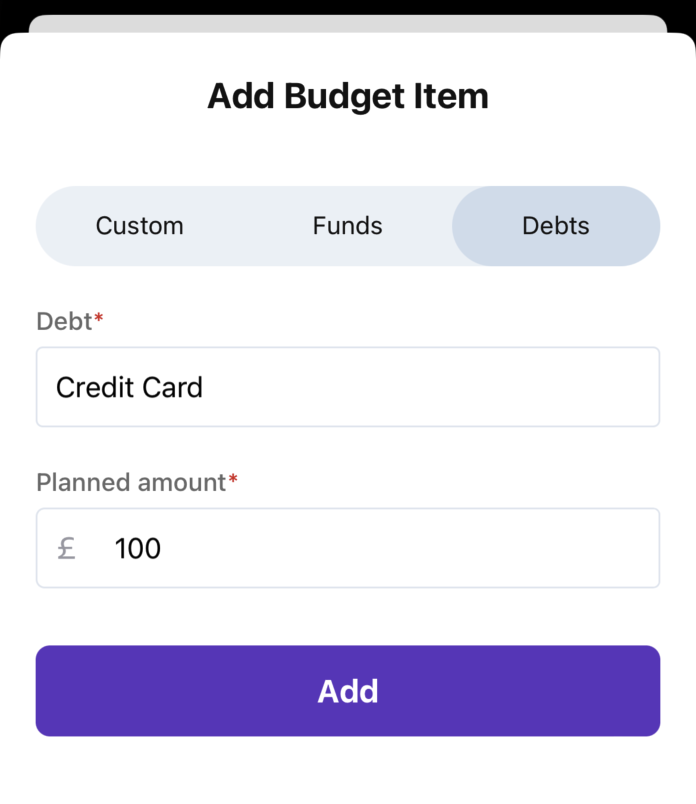
Click the '+' button in the bottom right-hand corner, as you would with adding regular items. Switch from 'Custom' to 'Debts' and select the debt. Enter the amount desired and tap 'Add'.
If this is the first debt to be added to the budget, a new special 'Debts' group will be created for you automatically, and the selected debt will be added to it. If the group already exists, the debt will be added to the existing group. Because this is a special group, it can't be renamed, and only debts can be added to it.
Add the 'Credit Card' debt to the budget, and allocate '100' to it. You'll see that this has caused our 'left to budget' balance to go negative, which now sits at '-70'. Don't worry, we'll fix this in the next step.
Remove debts from a budget
If you're following along and want to practice removing a debt, make sure to add it back after, with the same amount allocated as before.
You can remove a debt from the budget in the same way that you'd remove any other item. This will only remove the debt from the current budget, and will not delete the debt itself.
Delete debts
If you're following along, do not delete the debt we previously created. If you'd like to practice, create a new temporary debt and delete it.
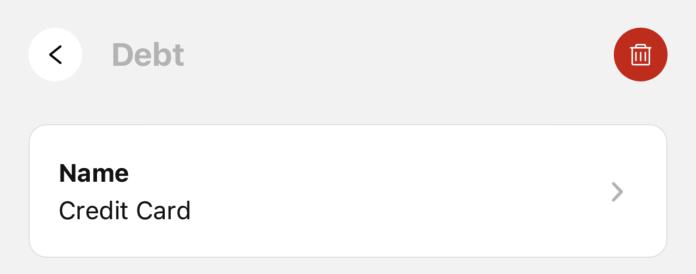
In order to delete debts, head back over to the 'Debts' screen, tap the debt you wish to delete, and tap the 'trash' icon.
Any current balance in the debt will be set to '0' just before deletion, and so will be subtracted from your total debts balance.
Extra Tip: Pay yourself first
Although we added the debt to our budget after adding all expenses, in reality, it's recommended to add debts to your budget before any non-essential expenses. This is known as 'paying yourself first', and helps to ensure you stay on target.
Step 5. Get 'left to budget' back to zero
Introduction
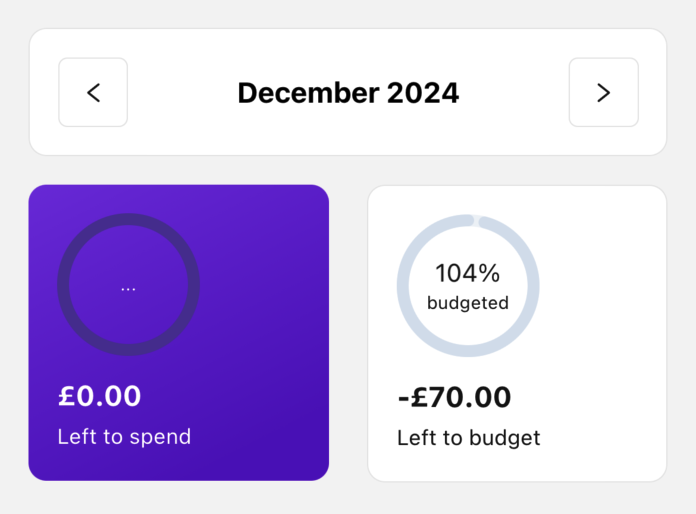
If you've been following along with all of the steps so far, you should see that you have budgeted '104%' of your income, and you have a 'left to budget' balance of '-70'.
The purpose of Nula is to help you follow the 'zero-based budgeting' method. This means that our goal is the make sure our 'left to budget' balance is always '0' and our 'budgeted' percentage is exactly '100%'.
Doing so will ensure that you don't overspend, and that every bit of income has a purpose and is working hard for you in your budget!
Fix a budget

We can fix the budget in many ways, but it's usually a good idea to start by looking at cutting back on non-essential expenses. Lets do that…
- Delete the 'Eating out' item under 'General Expenses'.
- Reduce the amount allocated to 'Entertainment' (also under 'General Expenses') from '100' to '80'.
Now take a look at the 'left to budget' amount… 'ZERO!!'. And the percentage budgeted is '100%'.
Congratulations, you've just successfully created a zero-based budget using Nula!
Step 6. Add transactions
Introduction
Now that you've finished creating your zero-based budget, you're ready to start adding transactions so that you can track your spending against your budget.
The goal now is to try and stay within budget, but don't worry if by the end of the budget month you've over or underspent on certain items. We find it usually takes a couple of months to get into the swing of things, and to be able to accurately predict spending. Even after years of budgeting, unexpected expenses and over-spending sometimes still happen.
So, the goal when adding transactions is to make sure that your 'left to spend' balance is '0' at the end of the cycle, meaning you have spent exactly the same amount as you've received.
Try to avoid changing any items 'planned' amount during the month once you've already started adding transactions. Instead, focus on keeping within budget for other items, and make adjustments in the next month if necessary.
Extra Tip: Track unplanned expenses
It might be a helpful to create a 'miscellaneous expenses', with an amount to cover any unplanned or unexpected expenses. Try to keep this amount small, and remember to add any expenses to next month's budget that were missed and are recurring.
Add an income transaction
To add your first transaction, head over to the 'Transactions' screen and tap the '+' button in the bottom right-hand corner.
Transactions are assigned to the currently selected month, even if you set the transaction date to a date that is in a different month. Therefore, make sure you have the same month selected as was in the previous steps.
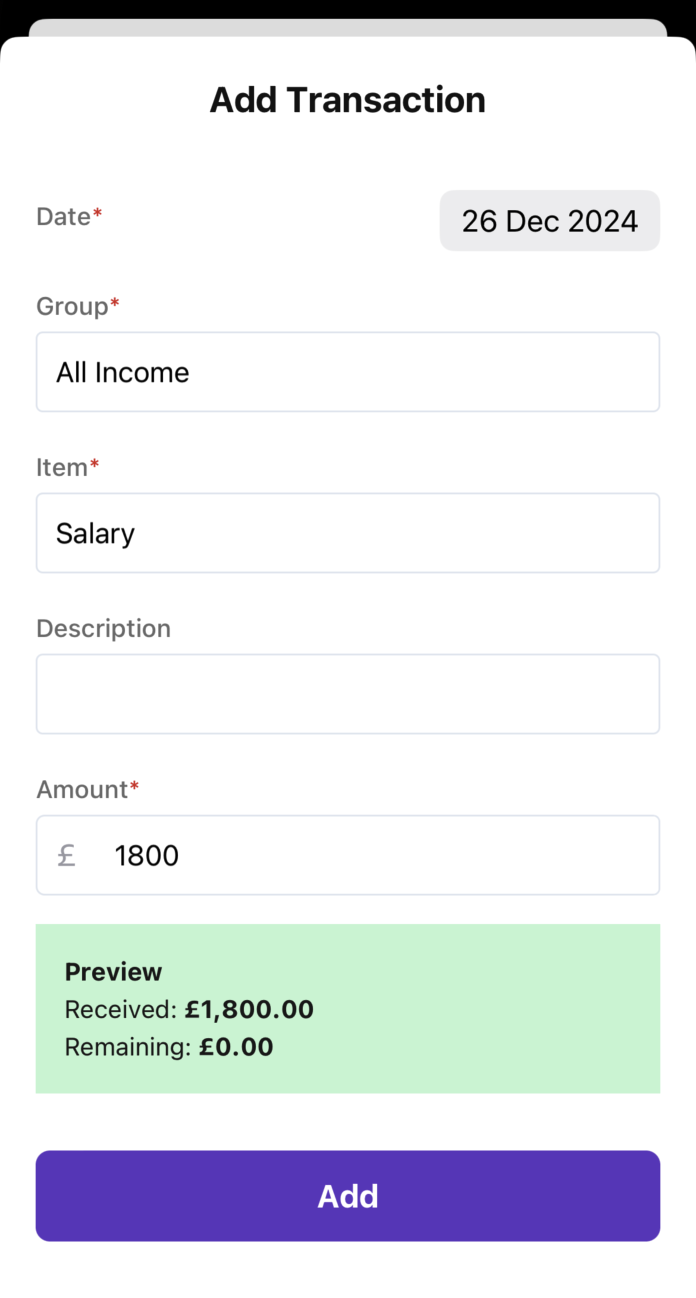
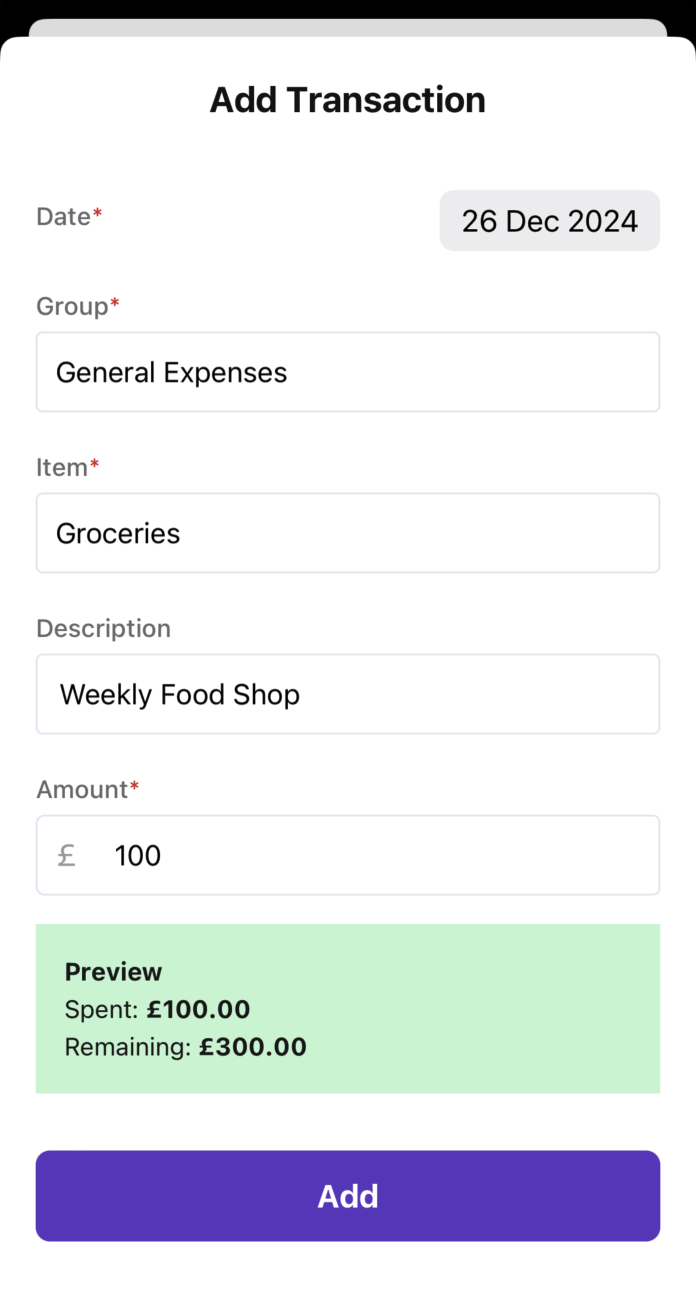
By default, the date will be today's date. Feel free to leave it, or try changing to a different date. Select the 'Salary' budget item and leave the description blank.
You will see a 'preview' panel, which shows how much you've already spent or received, and how much is left. This panel gives you a live preview of what will happen to the balances before you add the transaction, and will turn red if you're about to add a transaction that will go over the planned amount in the budget.
For now, set the amount to '1800', the same as we planned, and tap 'Add'. You will see the transaction has been added.
Head back over to the 'Budget' screen, and you'll see a few things have updated. First, the 'Salary' item in the budget has updated to show we have '0' remaining.
Additionally, the 'left to spend' balance has changed to '1800', and spent percentage is '0%'.
Just like when we were creating our budget, the goal now is to aim for 'left to spend' to be '0', and percentage spent to be '100%'.
Go back to the 'Transactions' screen, and add a second transaction, this time for 'Clothes sale', with an amount of '200'. If we return to the 'Budget' screen again, we will now see our 'left to spend' balance has increased to '2000'.
Add an outgoing transaction
Now it's time to add some transactions against our planned expenses. Usually of course, you would add transactions as they happen throughout the month, but for the sake of keeping this guide shorter than a month to complete, we'll just add a couple of examples.
Navigate back to the 'Transactions' screen, tap 'Add' and add a transaction for 'Groceries' under 'General Expenses'. This time, give the transaction a description, e.g. 'Weekly Food Shop', and an amount of '100'.
Go back to the 'Budget' screen, and you will see that our 'left to spend' balance has now reduced from '2000' to '1900', as we've just spent '100' on groceries.
Add 2 more transactions under 'Groceries' (feel free to leave the description blank this time), and set the amount both times to '200'.
Did you notice that when you added the last transaction, the preview box turned red? It was telling you that you were about to overspend on 'Groceries' (a pretty common occurrence personally).
Head back to the 'Budget' screen, and you will see that the 'left to budget' balance is now '1500' and the 'spent' percentage is '25%'.
Add a fund or debt transaction
Add another transaction, but this time select the 'Emergency Fund' fund as the item, set the amount to '100', and tap 'Add'.
Now, head over to the 'Funds' screen, and you will find that the balance of the 'Emergency Fund' was automatically increased from '0' to '100'.
This also happens for debts, except adding a transaction to a debt item will reduce its balance by the transaction amount.
You'll also see that our 'left to spend' balance was reduced from '1500' to '1400' after adding the fund transaction.
Edit a transaction
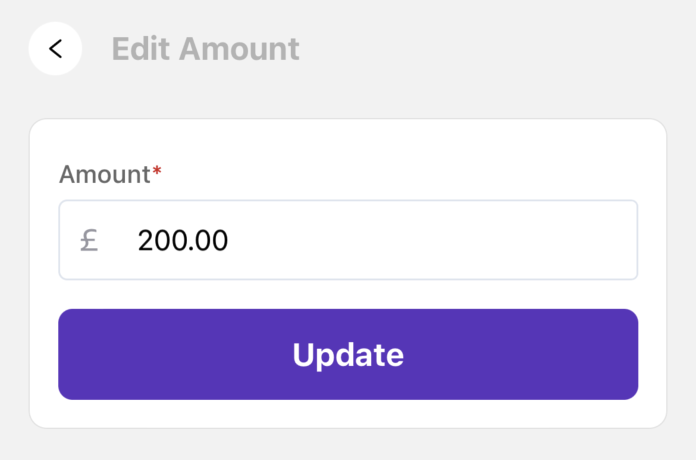
Let's pretend we made a mistake in our last groceries transaction, and we actually only spent '100', instead of '200'.
To change the transaction amount, head back over to the 'Transactions' screen and tap on the second most recent transaction. Tap the amount and change it to '100'. Once changed, tap 'Update'.
Go back to the 'Budget' screen, and you will see that by changing the transaction amount, the 'left to spend' amount has also been updated, showing '1500' instead of '1400'.
If this was a transaction made for a fund or debt, the current balance of the corresponding fund or debt would not be automatically updated. It required, you would need to adjust the balance of the fund or debt directly.
Delete a transaction
Deleting transactions can be done by tapping on the transaction on the 'Transactions' screen, and tapping the 'trash' icon.
Similar to when changing the balance of transaction, if this was a transaction made for a fund or debt, the current balance of the corresponding fund or debt will not be automatically updated when deleting the transaction. It required, you would need to adjust the balance of the fund or debt directly.
Step 7. Track net worth
Introduction
In addition to helping you budget your income and track expenses, Nula provides the ability to keep track of your overall net worth. You can do this by adding assets and liabilities.
To get started, navigate to the 'Net worth' screen.
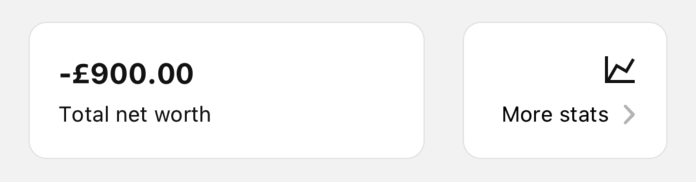
If you've been following along with the previous steps, you might be surprised to see that you already have a net worth balance of '-900'… Don't worry! That's what we expect, because net worth also takes into account the balance of all 'funds' and 'debts'.
Therefore, our current net worth is equal to the '100' in our Emergency fund that we added via a transaction, minus the '1000' we set when first creating the Credit Card.
Create an asset
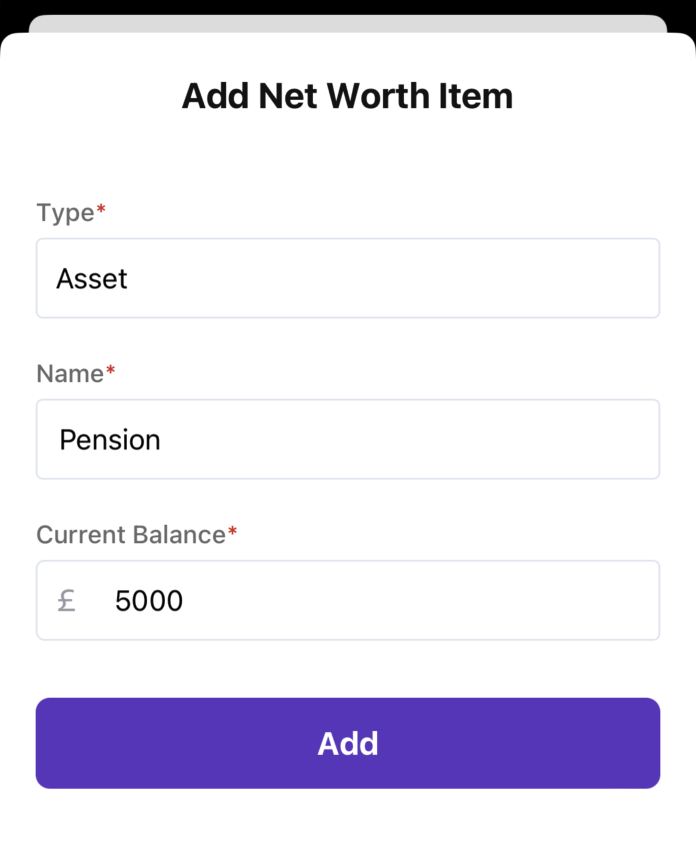
To create an asset, tap the '+' button in the bottom right-hand corner. Set the type to 'Asset' and the name to 'Pension'. Set the current balance to '5000' and tap 'Add'.
You'll see that the total net worth amount has updated to be '4100'.
Create a liability
To create a liability, tap the '+' button in the bottom right-hand corner. Set the type to 'Liability' and the name to 'Car Loan'. Set the current balance to '2000' and tap '+ Add'.
You will see that the total net worth amount has updated to be '2100'.
Adding a 'Car Loan' as a liability is for demonstration purposes. It would also have been a good approach to add it as debt instead, especially if we're paying it off each month from our budget. Some examples of liabilities might be an unpaid tax bill, that's not paid off every month, or a student loan, that's taken from our pay-check before we get paid.
Edit & Delete an asset or liability
To edit an asset or liability you wish to edit, tap on the field, make your changes, and tap 'Update'.
To delete an asset or liability, tap on the item and tap the 'trash' icon.
Step 8. Additional features (optional)
Change currency
You will have been asked to select your preferred currency when you completed account set-up.
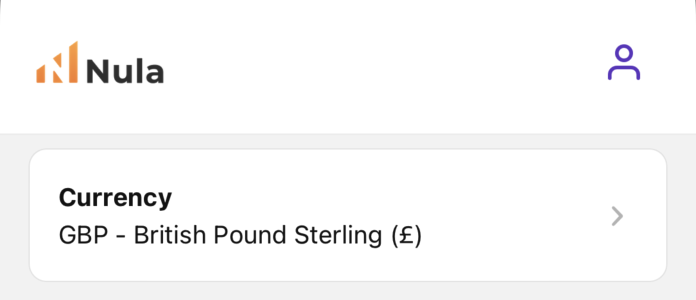
This can be changed on the 'Profile' screen, which you can be found by tapping the avatar icon located in the right of the header.
Here, you will find a number of options to change your name, marketing preferences, password and currency.
Be aware that changing currency does not 'convert' existing amounts or balances. For example, if you have a fund with a balance of '£100' and you change your currency to 'USD - United States Dollars', the amount will now be shown as '$100', and not some other amount based on exchange rates.
Therefore, it's not recommended to change currency. If required, you would need to convert any existing amounts and balances manually.
Create a balance modifier
After adding your latest transactions, you may find it useful to check that your 'left to spend' balance matches the actual amount left in your bank account.
However, this becomes more difficult if you're using an overdraft, or if you keep a 'buffer' in your account.
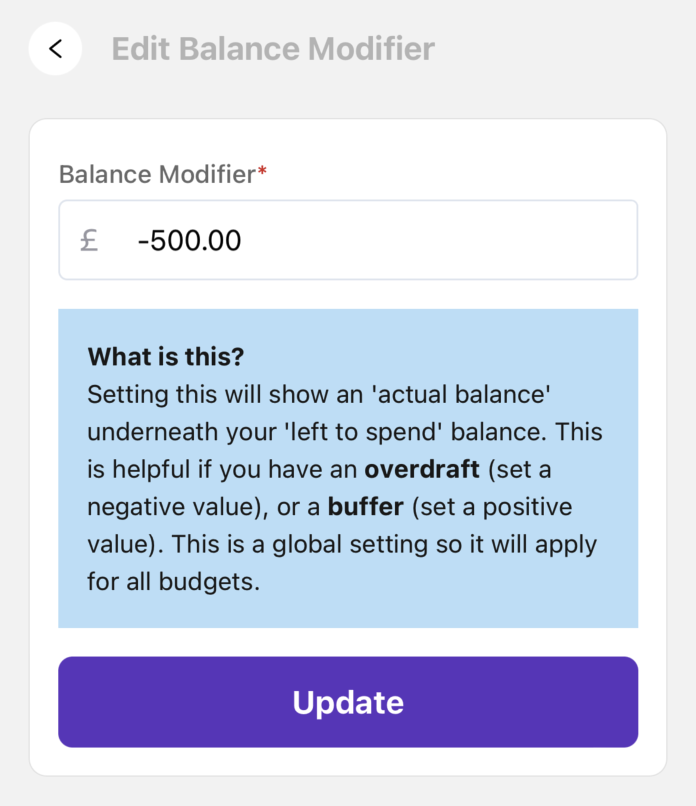
To make things easier in these circumstances, we provide the ability to set a 'balance modifier'.
This can be set on the 'Profile' screen, which you can be found by tapping the avatar icon located in the right of the header.
Here, you can set a balance modifier. For example..
- If you keep a '100' buffer in your account, set a balance modifier of '100'
- If you are using '500' of an overdraft, set a balance modifier of '-500'.
Once a balance modifier is added, a new second balance appears under 'left to spend' balance on the 'Budget' screen called 'actual balance', which should match the amount in your bank account.
This setting is global, so will modify 'left to spend' balances across all budgets. It can be updated at any time and set back to '0', for example if the overdraft is paid off, without affecting the rest of your budget.
Switch to dark mode
Nula supports both light and dark modes, and will be set to match your phone setting.
Step 9. Reset your account (optional)
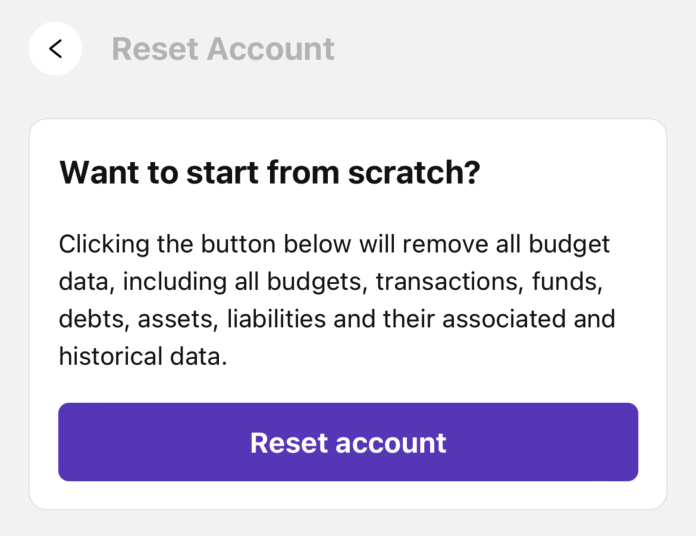
If you've been following along with the steps in this guide, and you wan to start afresh, you can reset your account. You can do this by going to the 'Profile' screen and tapping the 'Reset account' button.